
On This Page
Website Event Content Type
The Event content type allows you to add meetings which will be displayed on the Calendar.
Adding a New Event
Once logged in, from the Drupal Admin toolbar navigate to Content > Add Content > Event.
- Title: This is the title of the event. It will appear in all layouts of the event calendar.
- When: Include the date and time details for the meeting
- Start date and time
- End time
- All Day: Select this checkbox if the meeting runs all day.
- Duration
- Repeats: Select whether the Event is scheduled to be repeated. You have the option of editing the intervals for how long the Event is to be repeated.
- Location: Include the Latitude and Longitude coordinates for the Event.
- Content: Visit Page content type to view a complete run-down of all Content Row options.
Additional Options
- Related Content: Allows to link content to an existing contact content type.
- Related Contact: This enables you to include information for a Contact relevant to the content.
- Event Types (taxonomies): If you are using Event Types, you must select a category for your Event in order for it to appear in the filtered list.

- Optional Graphics: Include additional/optional graphics to the Alert.
- Icon: Click on the Font Awesome linked text under the field. Then search for the appropriate icon/style that you wish to use for the tile. Make sure to follow the formatting described in the reminder text under the Icon field.
- Image: Select or upload the image you wish to display.
Once you have filled out the above fields, make sure that you select Published.
(Note: Events will unpublish 10 months from the publication date.)
Editing an Existing Event
- Once logged in, click on Content from the top level of the Drupal Admin toolbar.
- Under Content type, select Event from the type options and click on Filter.
- Find the Event you are looking for and click on Edit from the right-hand column.
(Note: You can also delete Events in this manner.)
Advanced Page Settings
Settings for URL redirects, meta tagging and menu management can be found on the right-hand margin when editing or creating a new Page or content type. Visit Advanced Settings Instructions.
Engagement Event Content Type
Events allow you to promote meetings, information sessions, open houses, workshops, and other engagement opportunities on your CivicKit engagement platform.
When an event is connected to a project, it will:
- Display in the project's sidebar
- Appear in the site's Events Calendar
- Provide residents with important event details
- Offer optional registration opportunities
Examples of project-related events include:
- Public information sessions
- Open houses
- Town halls
- Community workshops
- Public consultation meetings
Before You Begin
Before creating an event, ensure that:
- You are logged into your CivicKit engagement platform.
- The project you want to associate the event with already exists.
- Any registration forms have already been created, if required.
Step 1: Create a New Event
- Hover over Content in the administration menu.
- Select Add Content.
- Click Event.
The Event editing screen will open.
Step 2: Enter an Event Title
In the Title field, enter a clear and descriptive name for the event.
Example: Riverside Playground Public Information Session
Use titles that help users quickly understand the purpose of the event.
Step 3: Add the Event Date and Time
Under the When and Where section:
- Select the event date.
- Enter the event start time.
- Enter the event end time.
Multiple Sessions
If your event occurs more than once, select Add Another Item to add additional dates and times.
Examples include:
- Multiple open house sessions
- Multi-day workshops
- Recurring public meetings
Step 4: Add the Event Location
In the Where field, enter the name of the event location.
Example: Riverside Community Centre
Location Best Practice
Use this field for the location name only.
Additional details such as:
- Room numbers
- Parking information
- Accessibility information
- Contact information
- Directions
should be added in the Event Details section of the page.
Step 5: Connect the Event to a Project
To display the event on a project page:
- Locate the Related Project field.
- Begin typing the project name.
- Select the appropriate project from the search results.
Example: Riverside Playground Revitalization Project
Once connected, the event will automatically appear in the project's sidebar.
Step 6: Configure Event Registration
If attendance is limited or you would like to track participants, you can add registration options to the event.
Three registration methods are available:
Option 1: Webform
Select an existing web form from your engagement platform.
This option is recommended for most events.
Option 2: Embedded Registration Form
You may embed a registration form from a third-party platform.
To Add an Embed
- Select Embed.
- Change the text format to Unrestricted HTML.
- Paste the embed code into the provided field.
Note: Only use embed codes from trusted sources.
Option 3: External Registration Link
If registration is managed outside the engagement platform, you can provide a direct link to the registration page.
- URL: Start typing the title of a piece of content to select it. You can also enter an internal path such as /node/add or an external URL such as http://example.com.
- Link text: Type the text that is going to appear linked with the above URL
Examples include:
- Eventbrite
- Microsoft Forms
- SurveyMonkey
- Municipal registration systems
Step 7: Add Event Details
Use the Body field to provide information about the event.
Event details might include the following:
- Event Description
- Explain the purpose of the event.
- Example: Join us to learn about the proposed improvements to Riverside Playground and provide feedback on the project design.
- Registration Information
- Include any important registration instructions.
- Example: Registration is recommended as seating is limited.
- Event Agenda
- Outline what participants can expect.
- Example Agenda
- Project Overview
- Presentation of Proposed Designs
- Question and Answer Session
- Community Feedback Opportunities
Step 8: Publish the Event
Once all event details have been entered:
- Review the event information.
- Select Publish.
- Save the event.
The event is now live on your engagement platform.
Step 9: Verify the Event
After publishing, review the event to ensure all information is displaying correctly.
The event page should display:
- Event title
- Date and time
- Location
- Related project
- Event details
- Registration information
Editing an Event
- To edit an Event, click on Content in the Drupal toolbar.
- Filter by content type Event.
- Click to edit the Event.
- Once you have made your changes, make sure that you select Published.
Viewing Events on a Project
When an event is connected to a project, it will appear in the project's sidebar.
Users can view:
- Event title
- Event date and time
- Event location
- Link to the full event page
This allows visitors to quickly discover project-related engagement opportunities.
Viewing Events in the Calendar
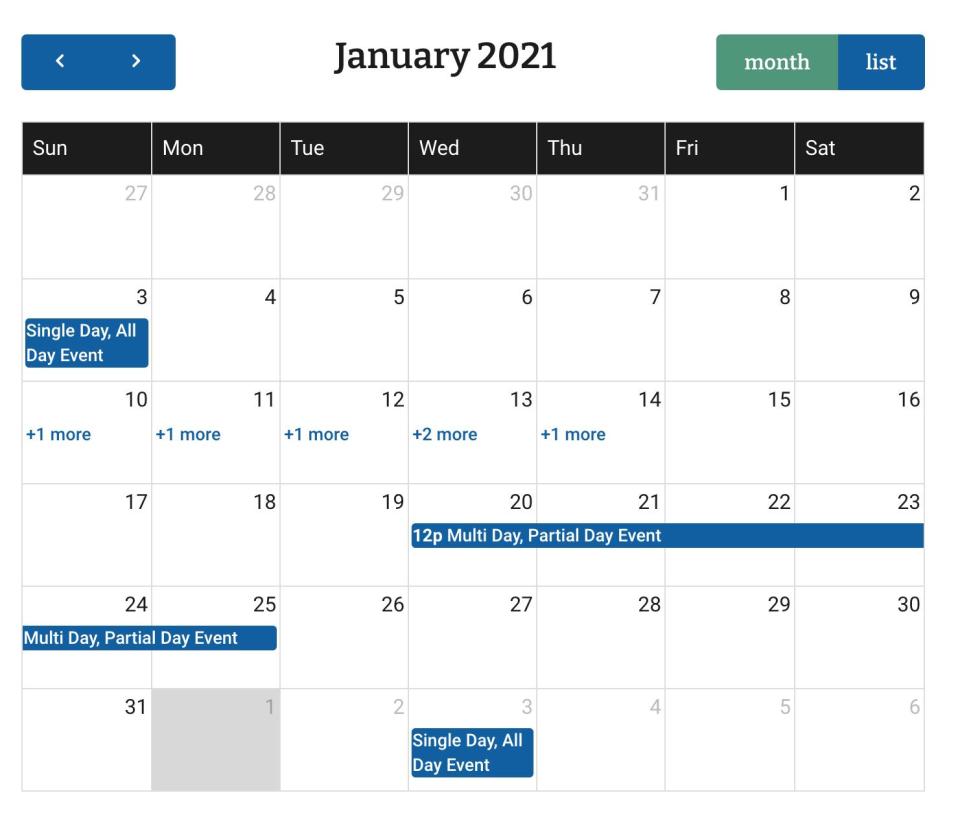
All published events are automatically added to the site's Events Calendar.
To access the calendar:
- Select Events from the site's main navigation.
- Browse upcoming events.
- Navigate between months as needed.
Users can select an event directly from the calendar to view full details and registration information.